Symantec AntiVirus Auto-Protect & LiveUpdate on Linux CentOS
Symantec AntiVirus on Linux is a fragile and unforgiving beast – especially the problematic LiveUpdate client which is not correctly documented for install / config. Read on for information on my process for installing Symantec AV including Auto-Protect on my hardened CentOS base image without any of the graphics packages installed (translation: no X11). Not as easy as I thought it would be!
Symantec AntiVirus and Auto-Protect
Let’s talk a moment about how Symantec implements Auto-Protect on Linux systems. This works by having a compiled loadable kernel module installed (via the chkconfig command after installation). This is a problem on CentOS because the module supplied with the SymAV package as of version 12.1 reports “incompatible kernel”. But rebuilding the SymAV auto-protect package can be difficult due to some kernel header file requirements that – by default – CentOS does not include. Let’s cover the steps I used in my lab to solve this problem:
- First – here is the documentation from Symantec: Symantec Auto-Protect Documentation Link. We cover the steps required for the auto-protect build below
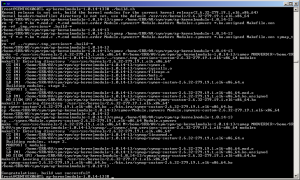
- Using the documentation, we eventually call the provided
build.shcommand provided by Symantec. However, the auto-protect build fails looking for functionfh_init. Found resource at this link to address the issue, which has a solution as documented below. Please note that version numbers *will change* based on the SymAV version and the and installed CentOS kernel version.- Open a shell window and change to the SymAV auto-protect build folder. For our use case this is
/home/SRR/AV/sym/rpm/ap-kernelmodule-1.0.14-13. Again, the actual version number for you may be different. - Issue command:
cd /home/SRR/AV/sym/rpm/ap-kernelmodule-1.0.14-13 - Issue command:
cp include/linux/nfsd/* /usr/src/kernels/2.6.32-279.19.1.el6.x86_64/include/linux/nfsd/. As you can see, this command was issued against CentOS kernel version 2.6.32-279. A different kernel version would result in a different destination. One way to address this through a shell script would be to executeuname -aand extract the kernel version dynamically. - From the local SymAV folder, insert the contents of
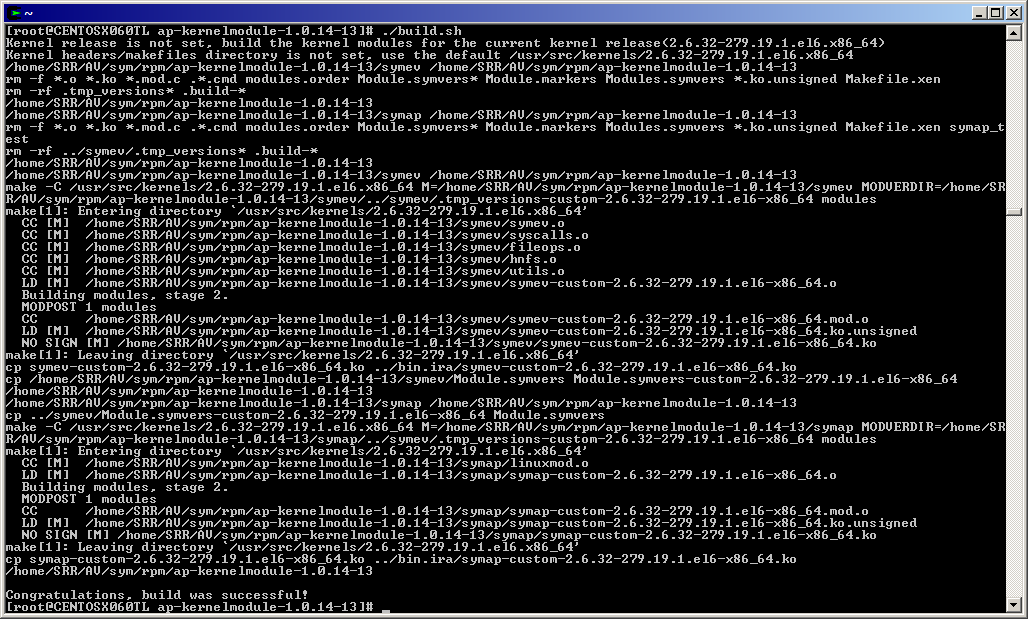
include/linux/nfsd/nfsfh1.hinto the kernel’snfsfh.hfile, before the#endif /* __KERNEL__ */line. This is a bit complex; open the localinclude/linux/nfsd/nfsfh1.hfile from your local folder (/home/SRR/AV/sym/rpm/ap-kernelmodule-1.0.14-13in this example. In that file, look for and copy the the lines after the #include<linux/nfsd/nfsfh.h>line and before the final#endifline. That is the content to copy to the kernel’snfsfs.h/usr/src/kernels/2.6.32-279.19.1.el6.x86_64/include/linux/nfsd/nfsfh.h. - After this copy the build.sh command succeeded as shown below:
- Open a shell window and change to the SymAV auto-protect build folder. For our use case this is
Now for the bad news: The above steps must be performed for each new SymAV or kernel upgrade. So..performing a yum update and patching your Linux kernel will instantly break the Symantec Auto-Protect feature! However, these steps appear to work equally well for 32- and 64-bit releases. For reference, the “installation†commands and verification commands are pasted below:
# after a successful auto-protect build.sh call, move to the local bin.ira folder
[root@CENTOSX060TL ap-kernelmodule-1.0.14-13]# cd bin.ira/

# second, manually "install" the build.sh results to the shared folder
[root@CENTOSX060TL bin.ira]# mv * /opt/Symantec/autoprotect/

# third, restart the Auto-Protect daemon
[root@CENTOSX060TL bin.ira]# /etc/init.d/autoprotect restart
Stopping AP: symap: not currently loaded
Starting AP: symev: loaded (symev-custom-2.6.32-279.19.1.el6-x86_64.ko)
symap: loaded (symap-custom-2.6.32-279.19.1.el6-x86_64.ko)
Setting major=248 from /proc/symap
[root@CENTOSX060TL bin.ira]# /etc/init.d/rtvscand restart
Stopping rtvscand: ..                                                OK

Starting rtvscand:                                                   OK

# finally, verify that the auto-protect function is available by using the Symantec "sav" utility
[root@CENTOSX060TL bin.ira]# /opt/Symantec/symantec_antivirus/sav info -a
enabled

# the output "enabled" above indicates that, yes, auto-protect is running. sweet!
Symantec AntiVirus Linux LiveUpdate
OK, kids, we’ve got Symantec AV installed and we patched the auto-protect daemon symap so it would load on our Linux kernel. Now we want our anti-virus signatures to update. That is simple on Windows, yes? In fact, we simply use the Symantec Endpoint Protection Manager (SEPM) to generate our install package and we run it, ez-peezy-lemon-squeezy, right?
Wrong. Installing LiveUpdate on Linux turned out to be a royal pain, however, it sure beat the alternative of copying patch files manually to each managed Linux client. Read on for our steps!
- FIRST TIME ONLY: Installation. Change to the Symantec AV folder where RPMs were extracted and install the
savjlupackage (stands for Symantec Anti-Virus Java LiveUpdate). Example command isrpm -Uhv savjlu-1.0.14-13.i386.rpm. - Keep JRE Updated. The LiveUpdate requires a Java Runtime Environment (JRE) but the Symantec package does not ship with one. So, you’ll need to install a JRE on your Linux box, *and* this JRE must be kept updated on the standard Java update cycle (translation: more planning / work for you). I’ll write another quick blog on my approach for keeping the JRE updated a different time.
- Install matching “unlimited JCE”. The Java Cryptography Extension (JCE) released with the standard JRE you download from Oracle is not unlimited strength. This causes the Symantec LiveUpdate processes to fail (there are cryptographic functions invoked during a LiveUpdate run). So, you must download the full JCE matching your current JRE version down from the Oracle Java site and extract the contents to
[JAVA_HOME]/lib/securityto overwrite the default cryptography files with the unlimited strength versions. Example commands follow assuming that the JCE packages was uncompressed to/home/SRR/AV/symfolder. Note that the lines are wrapped for readability:cd /home/SRR/AV/sym mkdir /usr/java/jre1.7.0_17/lib/security/bak mv /usr/java/jre1.7.0_17/lib/security/local_policy.jar \ /usr/java/jre1.7.0_17/lib/security/US_export_policy.jar \ /usr/java/jre1.7.0_17/lib/security/bak cp UnlimitedJCEPolicy/local_policy.jar \ UnlimitedJCEPolicy/US_export_policy.jar \ /usr/java/jre1.7.0_17/lib/security/
- Update the default Java
cacertsfile. When you installed your local Symantec LiveUpdate Server site, you should have ensured that you used HTTPS for all connections. That is a good thing, as it ensures that all network traffic is encrypted between the LiveUpdate clients (such as we are using on Linux) and the LiveUpdate server. However, on Linux this communication will fail unless the LiveUpdate server certificate is trusted by the LiveUpdate client running on CentOS Linux. You trust the LiveUpdate server Website certificate by installing it and the signing Certificate Authority certificate into the local[JAVA_HOME]/lib/security/cacertsfile on the Linux client. I’ll document these steps in a different post, for now let’s consider this as accomplished. - Maintenance for the
/etc/liveupdate.conffile. This file is read by the LiveUpdate agent to determine how to connect to the LiveUpdate server and download AV signature updates. (The file format and setup is documented in the standard Symantec installation notes – be sure to read them and not just this blog article.) However, the configuration file is automatically encrypted by the Linux LiveUpdate agent when it runs – thus, it is no longer directly maintainable because it is encrypted! Overcome this difficulty by keeping a copy of theliveupdate.confconfiguration file in a separate folder (such as/home/SRR/AV/symfolder to use our example). When necessary, update the localliveupdate.confand then simply overwrite the/etc/liveupdate.confversion. - Manually apply AntiVirus updates. After modifying the config file and copying it to
/etc/liveupdate.conf, use the command/opt/Symantec/symantec_antivirus/sav liveupdate -ucommand to run LiveUpdate manually (which will read and re-encrypt/etc/liveupdate.confif it is not currently encrypted). Note that this command can take a long time to run, but you will definitely see the interaction between the Linux SAV LiveUpdate agent and the LiveUpdate server! - Automate AntiVirus updates daily. After all the above steps are working, edit the local
crontabfile to have the line (all on one line):@daily /opt/Symantec/symantec_antivirus/sav liveupdate –u > /opt/Symantec/symantec_antivirus/liveupdate.log
The above forces a LiveUpdate to occur once daily at midnight.
This has been quite a few steps, let me know if it helped explain how to get AUto-Protect and LiveUpdate working on CentOS. Here’s wishing IT Joy to you!
Team-oriented systems mentor with deep knowledge of numerous software methodologies, technologies, languages, and operating systems. Excited about turning emerging technology into working production-ready systems. Focused on moving software teams to a higher level of world-class application development. Specialties:Software analysis and development...Product management through the entire lifecycle...Discrete product integration specialist!
Leave a Reply